Melt & pour soapmaking PACK: Clear base
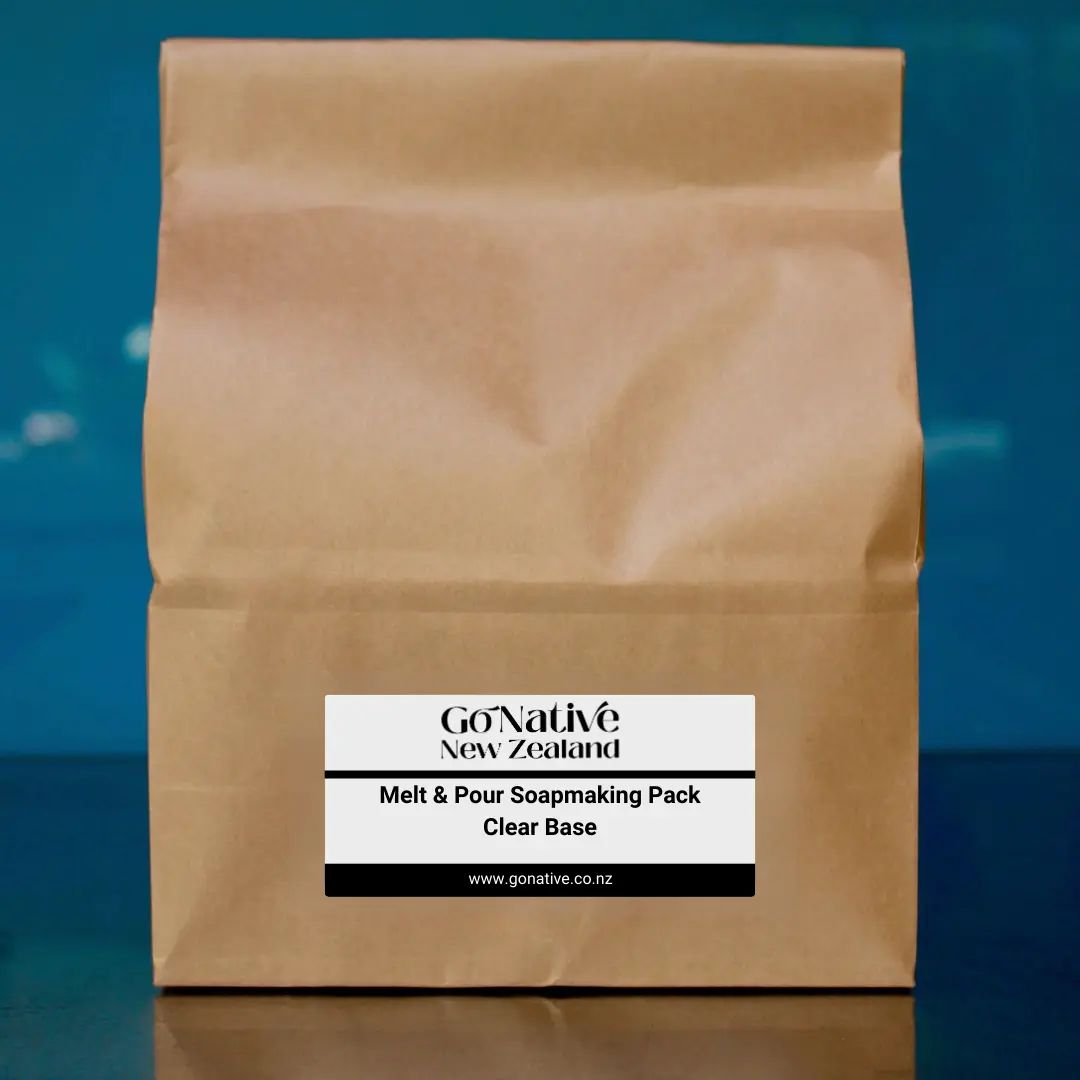
Melt & Pour Soapmaking Pack – Clear Base
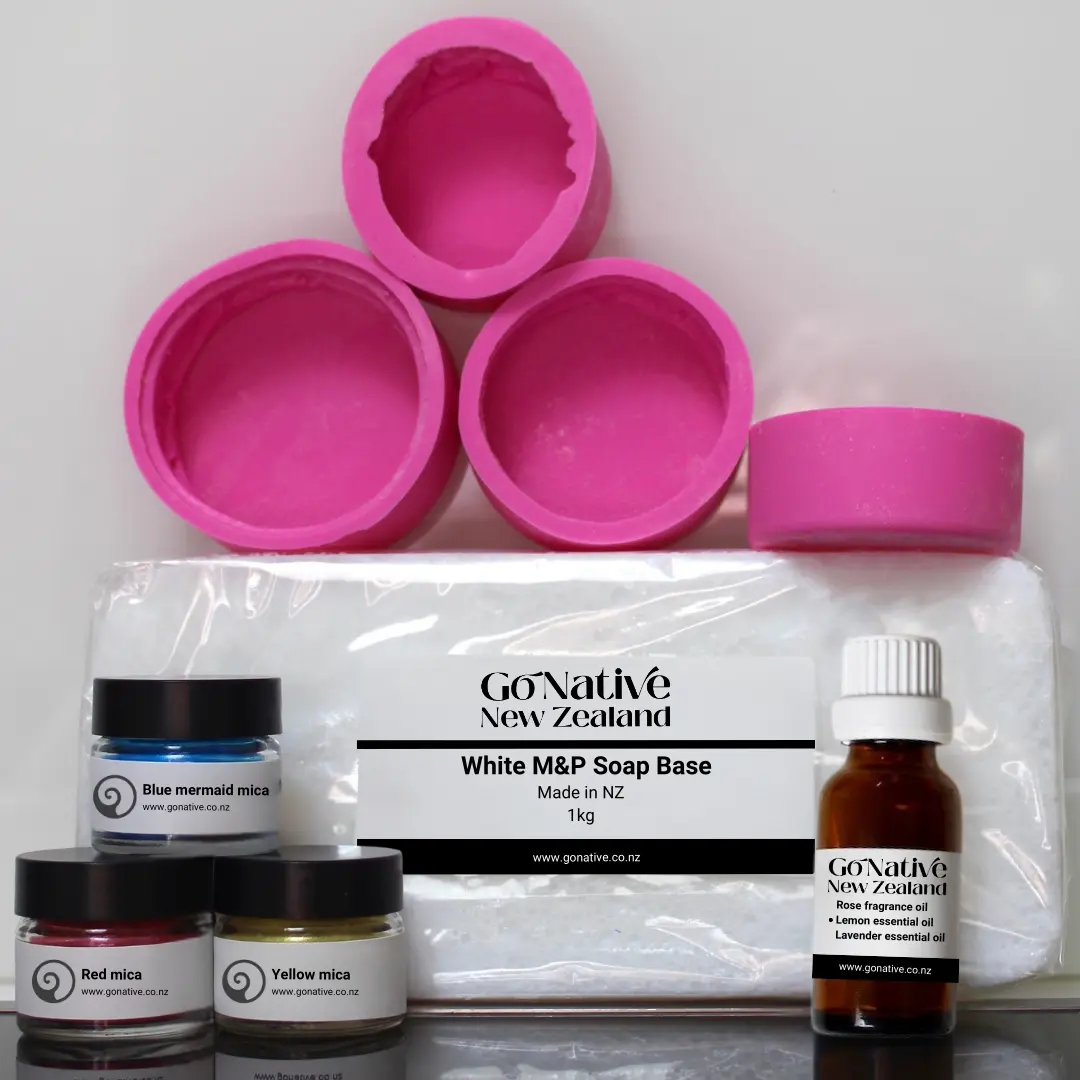
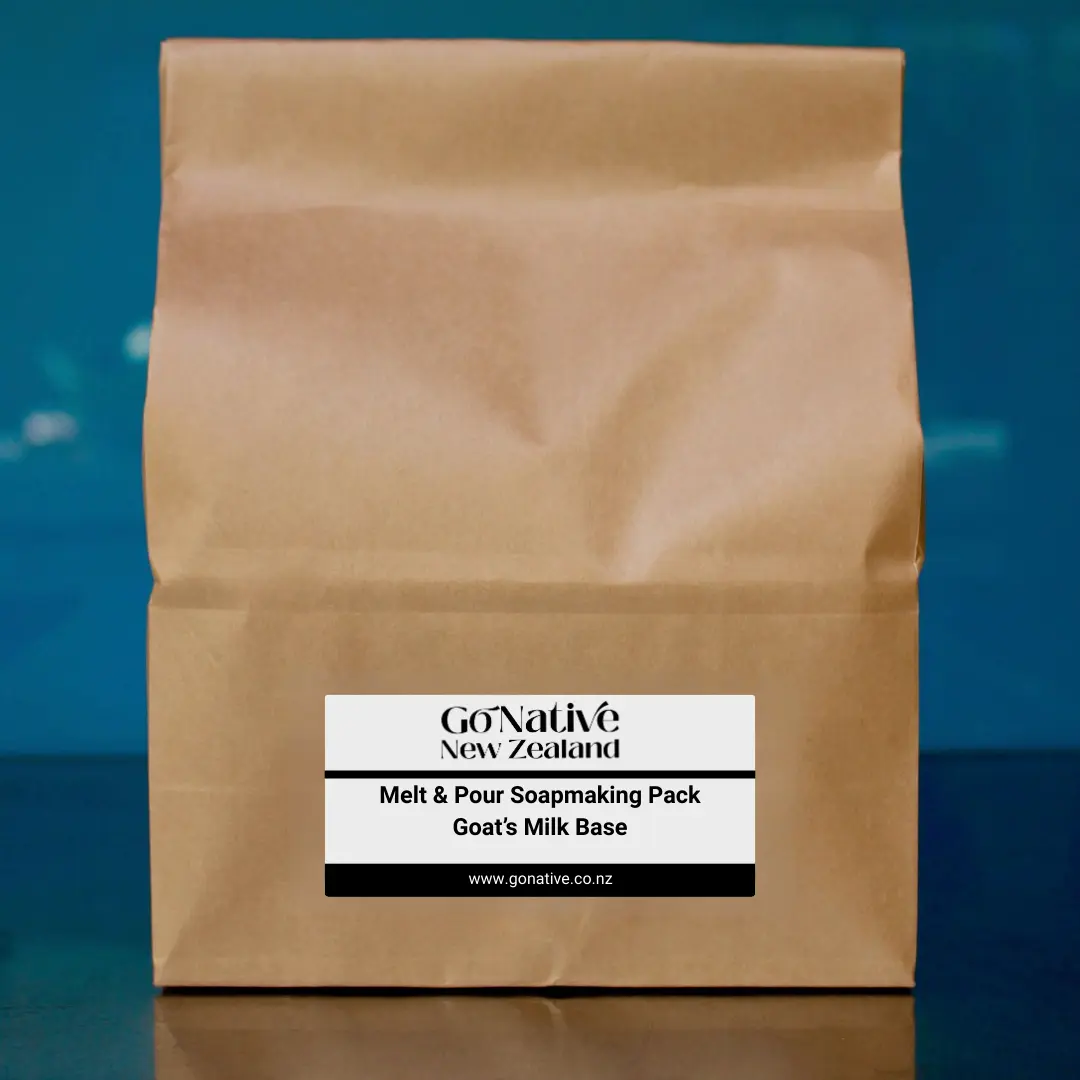
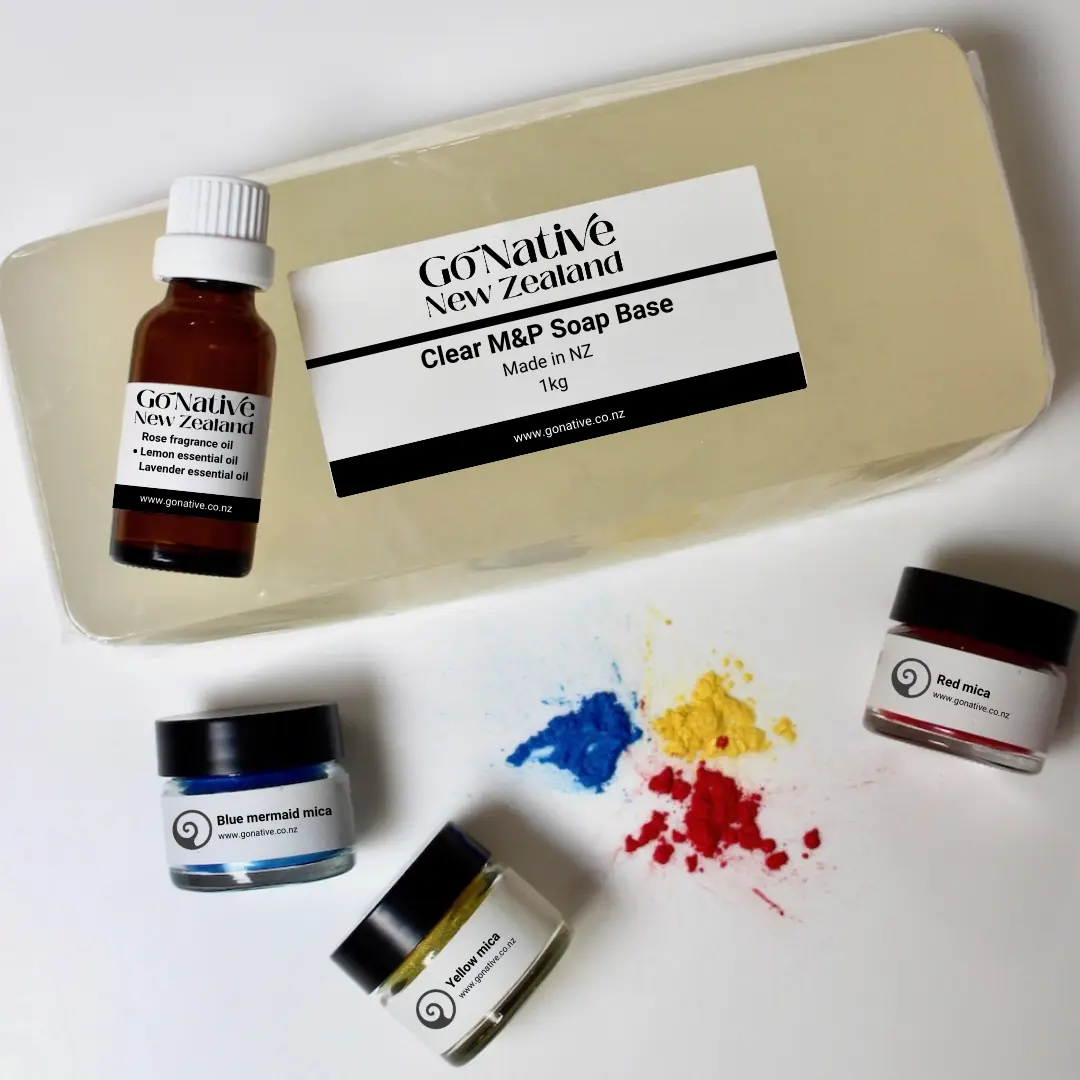
A simple melt & pour soapmaking pack featuring a New Zealand made clear soap base. This pack includes colourants and scent, but does not include a mould or printed instructions, making it ideal for those who already have basic equipment or have used melt & pour soap before.
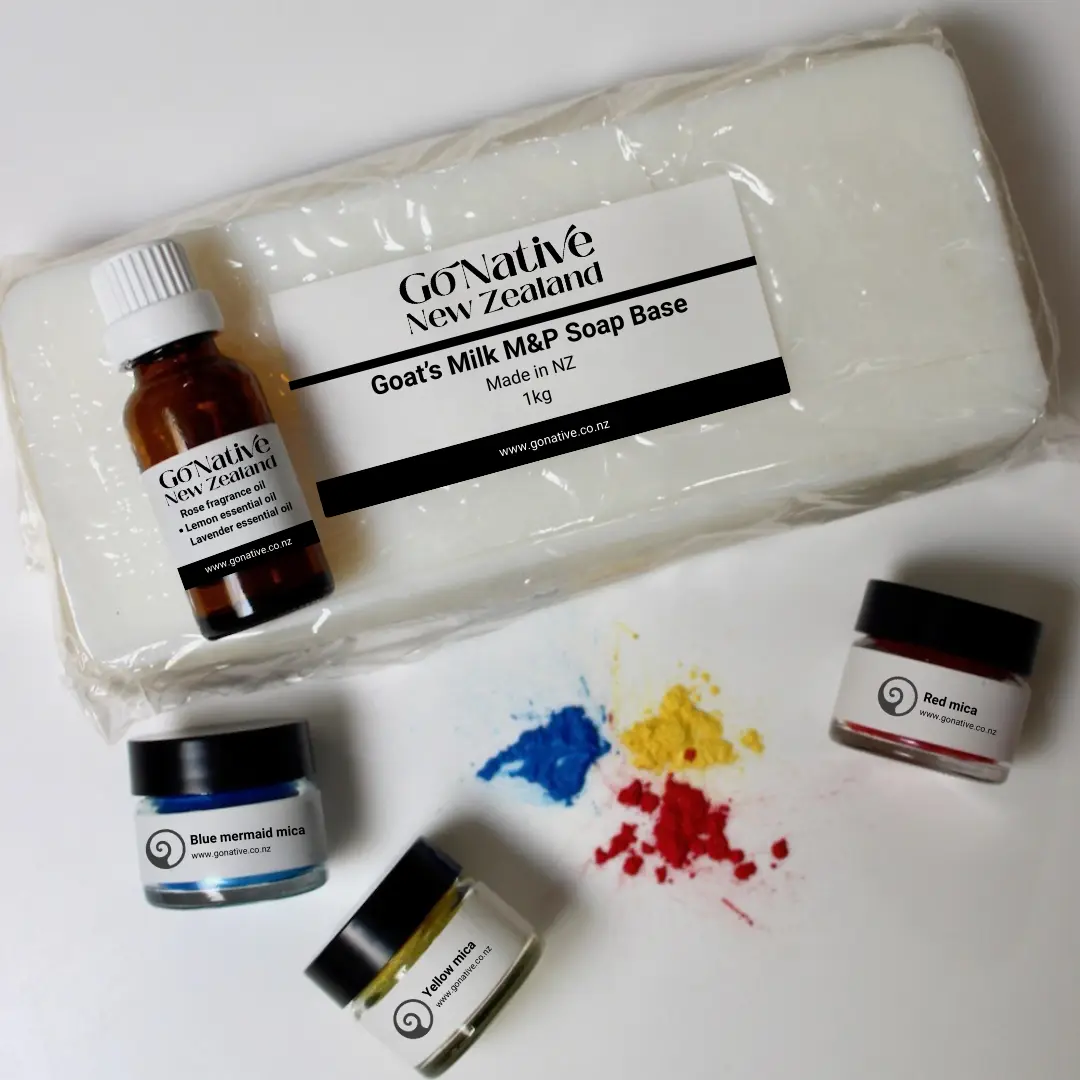
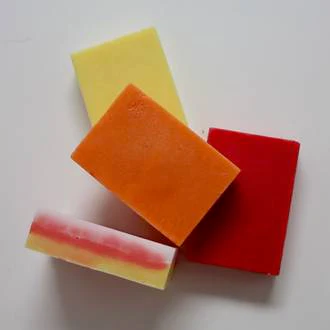
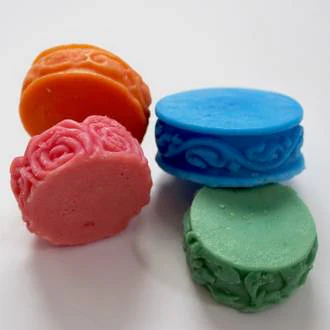
With primary-colour micas included, you can mix and create almost any shade you like. The clear base is perfect for bright colours, layered soaps, or showcasing embeds.
Melt & pour soapmaking is refreshingly straightforward. If you can gently heat ingredients on the stove, you can make soap.
What you’ll need
- A silicone soap mould
- A small pot for gentle heating
- A spatula or spoon for stirring and scraping
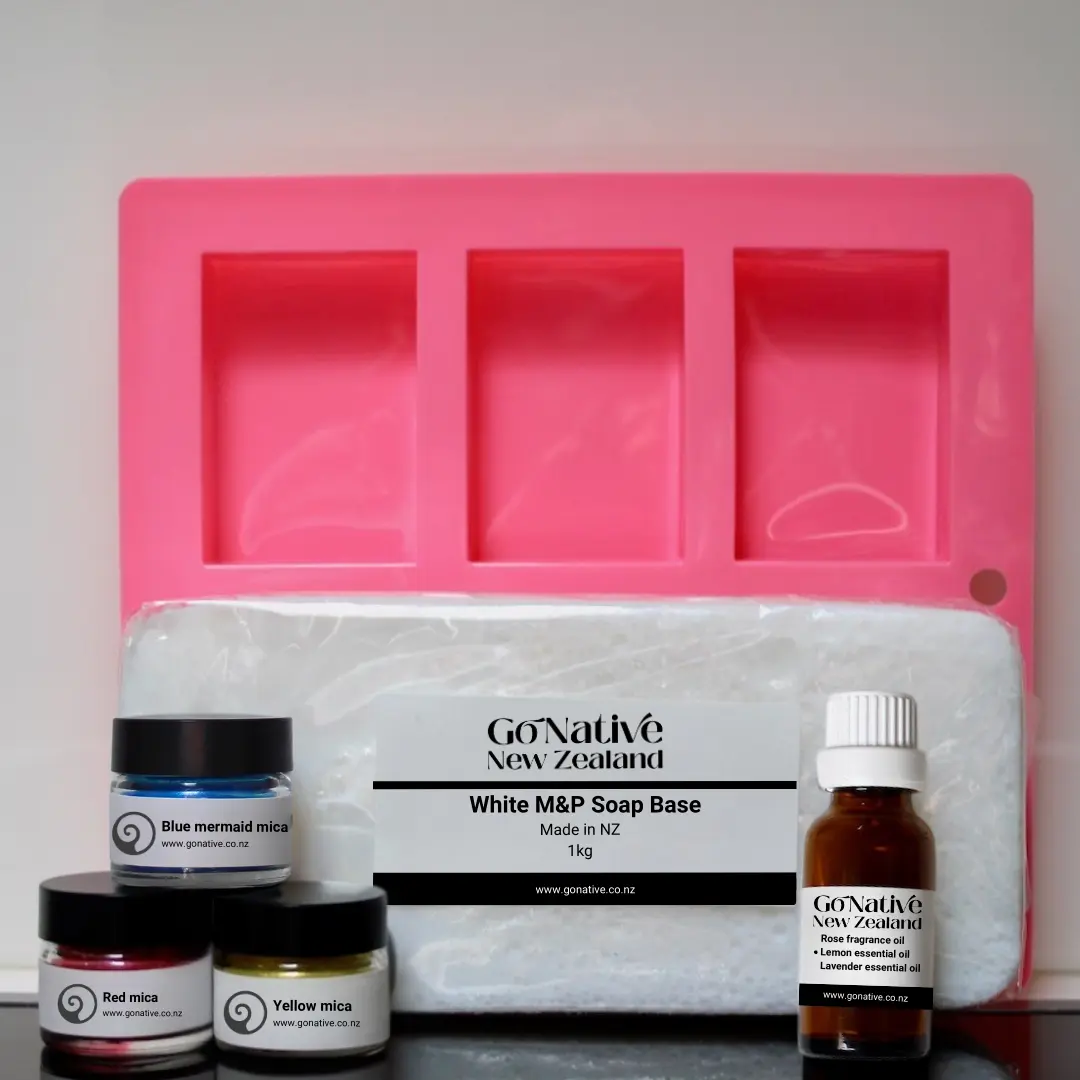
What’s included in every pack
- 1kg New Zealand made clear melt & pour soap base
- Red, yellow, and blue mica powders for colour mixing
- Your choice of essential or fragrance oil
Scent options
- Rose pack includes rose fragrance oil
- Lemon pack includes lemon essential oil
- Lavender pack includes lavender essential oil
Basic method
-
Cut the soap base into small pieces so it melts evenly.
-
Gently heat in a pot on the stove until fully melted.
-
Add small amounts of mica while stirring until your desired colour is reached.
-
Remove from heat and add a few drops of essential or fragrance oil. Stir well.
-
Pour into your mould and leave to set.
-
Unmould once fully firm.
Once you know the process, you can have fun combining colours and techniques to use up the remaining soap base.
Helpful tips
- Placing the filled mould in the fridge can speed up setting time.
- Sitting the mould on a chopping board makes it easier to move once filled.
- Melt & pour soap can sweat in warmer or humid conditions, so wrapping finished bars in cling film is recommended.
You can also follow along with our easy Melt & Pour Soapmaking Tutorial video.
Please note this video is not specific to this pack, but the same process applies.
Subscribe to our YouTube channel for more video tutorials and follow us on Instagram or Facebook for more recipes, news and specials!
Product Information
Product Information
Shipping & Returns
Shipping & Returns
Melt & pour soapmaking PACK: Clear base
Melt & pour soapmaking PACK: Clear base
Melt & Pour Soapmaking Pack – Clear Base
A simple melt & pour soapmaking pack featuring a New Zealand made clear soap base. This pack includes colourants and scent, but does not include a mould or printed instructions, making it ideal for those who already have basic equipment or have used melt & pour soap before.
With primary-colour micas included, you can mix and create almost any shade you like. The clear base is perfect for bright colours, layered soaps, or showcasing embeds.
Melt & pour soapmaking is refreshingly straightforward. If you can gently heat ingredients on the stove, you can make soap.
What you’ll need
- A silicone soap mould
- A small pot for gentle heating
- A spatula or spoon for stirring and scraping
What’s included in every pack
- 1kg New Zealand made clear melt & pour soap base
- Red, yellow, and blue mica powders for colour mixing
- Your choice of essential or fragrance oil
Scent options
- Rose pack includes rose fragrance oil
- Lemon pack includes lemon essential oil
- Lavender pack includes lavender essential oil
Basic method
-
Cut the soap base into small pieces so it melts evenly.
-
Gently heat in a pot on the stove until fully melted.
-
Add small amounts of mica while stirring until your desired colour is reached.
-
Remove from heat and add a few drops of essential or fragrance oil. Stir well.
-
Pour into your mould and leave to set.
-
Unmould once fully firm.
Once you know the process, you can have fun combining colours and techniques to use up the remaining soap base.
Helpful tips
- Placing the filled mould in the fridge can speed up setting time.
- Sitting the mould on a chopping board makes it easier to move once filled.
- Melt & pour soap can sweat in warmer or humid conditions, so wrapping finished bars in cling film is recommended.
You can also follow along with our easy Melt & Pour Soapmaking Tutorial video.
Please note this video is not specific to this pack, but the same process applies.
Subscribe to our YouTube channel for more video tutorials and follow us on Instagram or Facebook for more recipes, news and specials!
Original: $25.94
-65%$25.94
$9.08Product Information
Product Information
Shipping & Returns
Shipping & Returns
Description
Melt & Pour Soapmaking Pack – Clear Base
A simple melt & pour soapmaking pack featuring a New Zealand made clear soap base. This pack includes colourants and scent, but does not include a mould or printed instructions, making it ideal for those who already have basic equipment or have used melt & pour soap before.
With primary-colour micas included, you can mix and create almost any shade you like. The clear base is perfect for bright colours, layered soaps, or showcasing embeds.
Melt & pour soapmaking is refreshingly straightforward. If you can gently heat ingredients on the stove, you can make soap.
What you’ll need
- A silicone soap mould
- A small pot for gentle heating
- A spatula or spoon for stirring and scraping
What’s included in every pack
- 1kg New Zealand made clear melt & pour soap base
- Red, yellow, and blue mica powders for colour mixing
- Your choice of essential or fragrance oil
Scent options
- Rose pack includes rose fragrance oil
- Lemon pack includes lemon essential oil
- Lavender pack includes lavender essential oil
Basic method
-
Cut the soap base into small pieces so it melts evenly.
-
Gently heat in a pot on the stove until fully melted.
-
Add small amounts of mica while stirring until your desired colour is reached.
-
Remove from heat and add a few drops of essential or fragrance oil. Stir well.
-
Pour into your mould and leave to set.
-
Unmould once fully firm.
Once you know the process, you can have fun combining colours and techniques to use up the remaining soap base.
Helpful tips
- Placing the filled mould in the fridge can speed up setting time.
- Sitting the mould on a chopping board makes it easier to move once filled.
- Melt & pour soap can sweat in warmer or humid conditions, so wrapping finished bars in cling film is recommended.
You can also follow along with our easy Melt & Pour Soapmaking Tutorial video.
Please note this video is not specific to this pack, but the same process applies.
Subscribe to our YouTube channel for more video tutorials and follow us on Instagram or Facebook for more recipes, news and specials!